
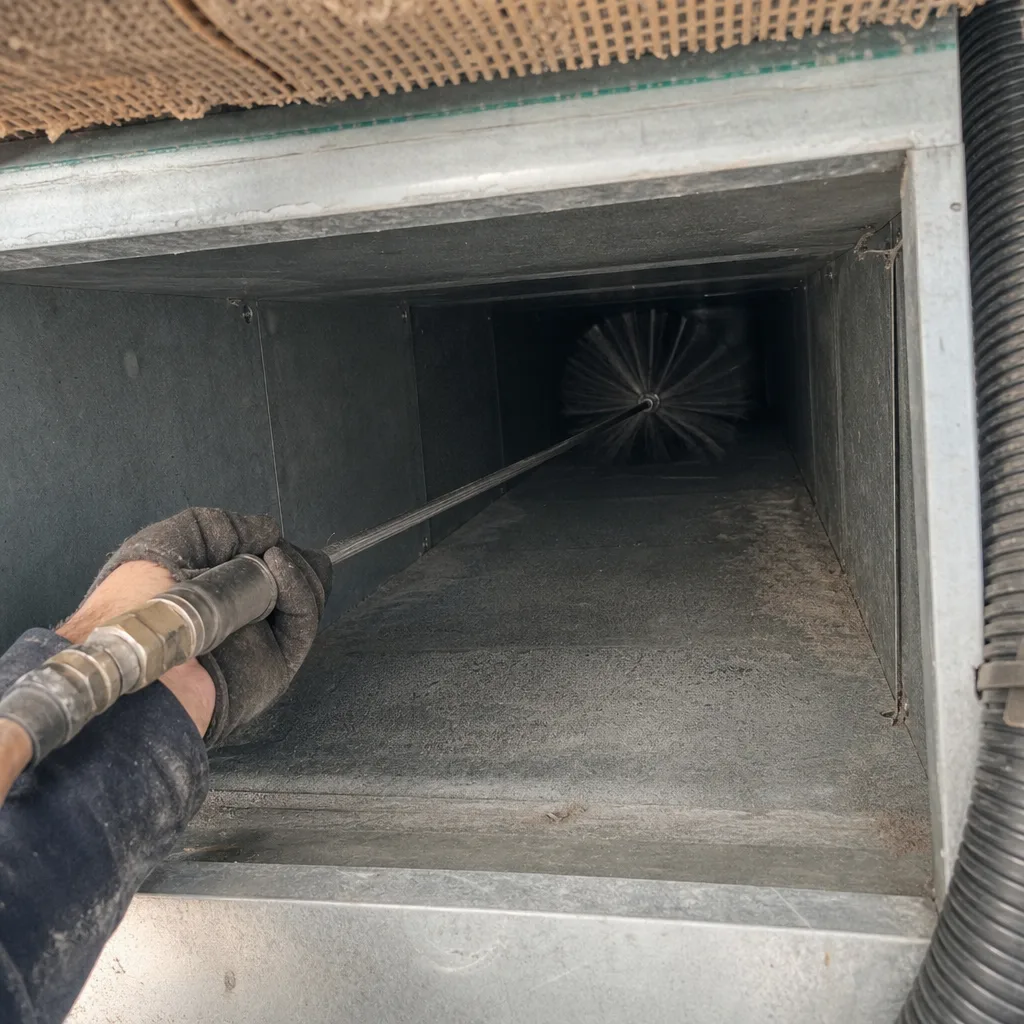
Last updated November 15, 2026
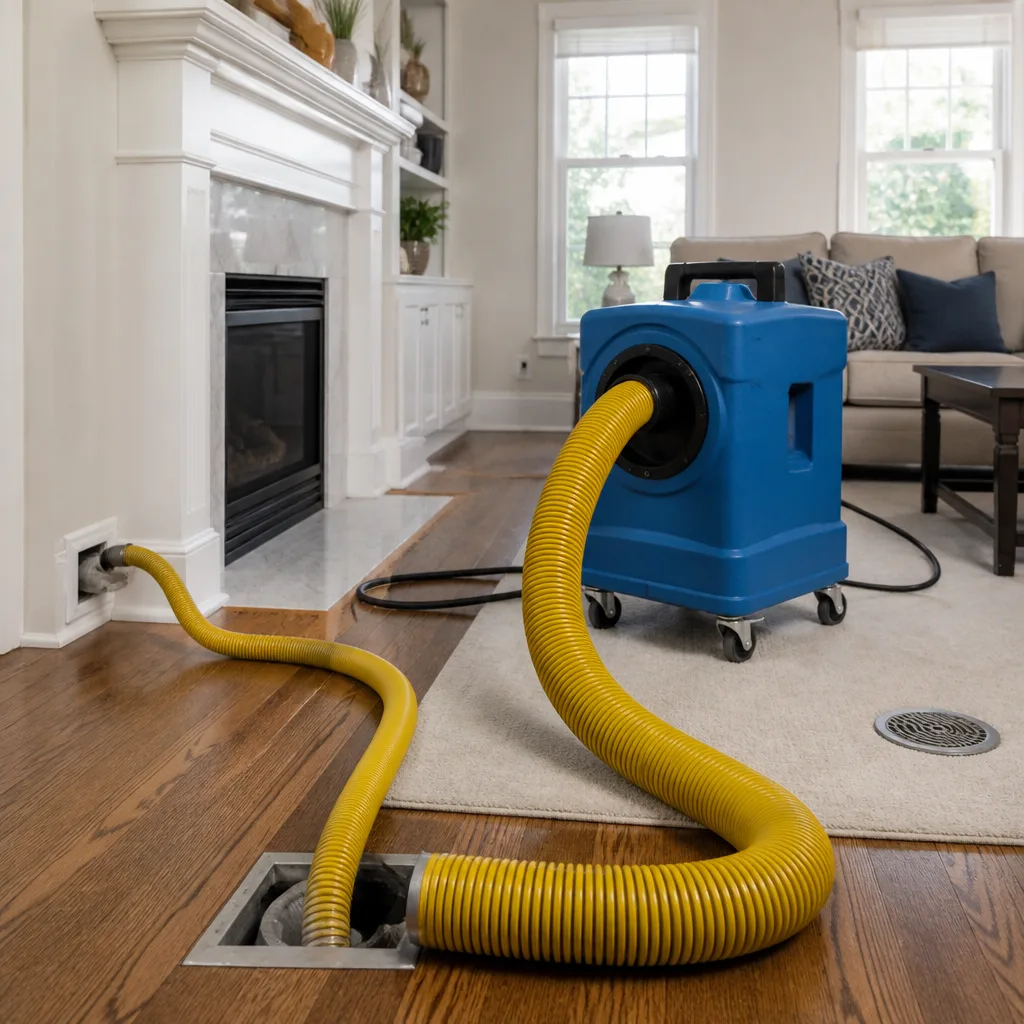 Whole-home duct cleaning
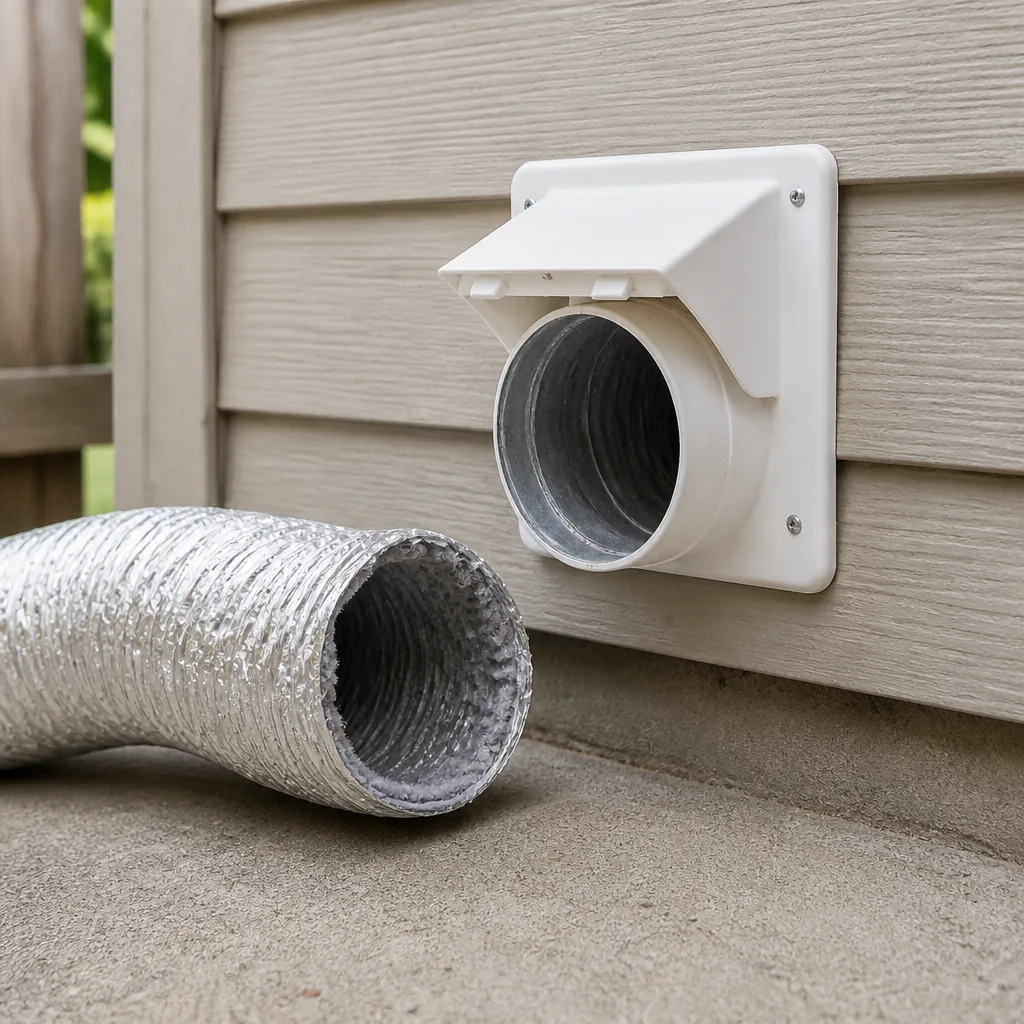 Dryer vent cleaning
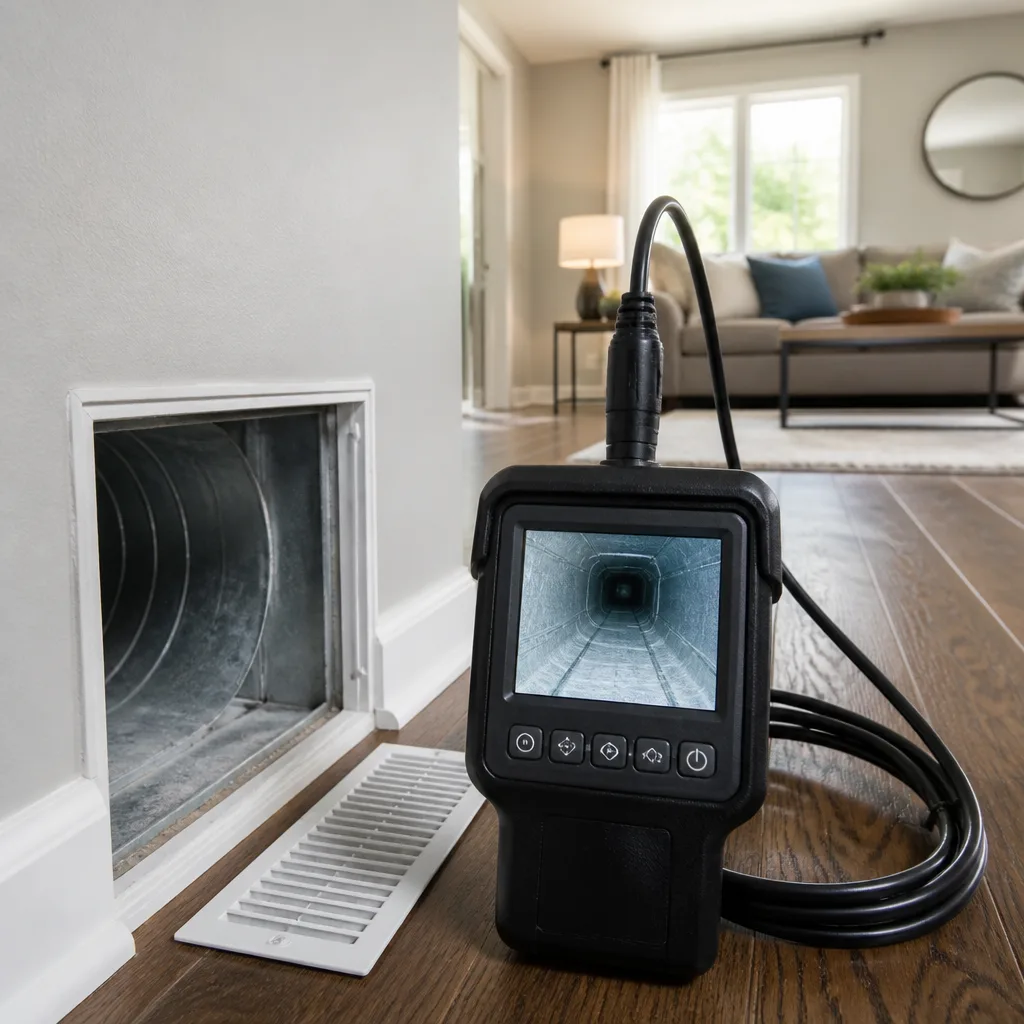 Camera inspection
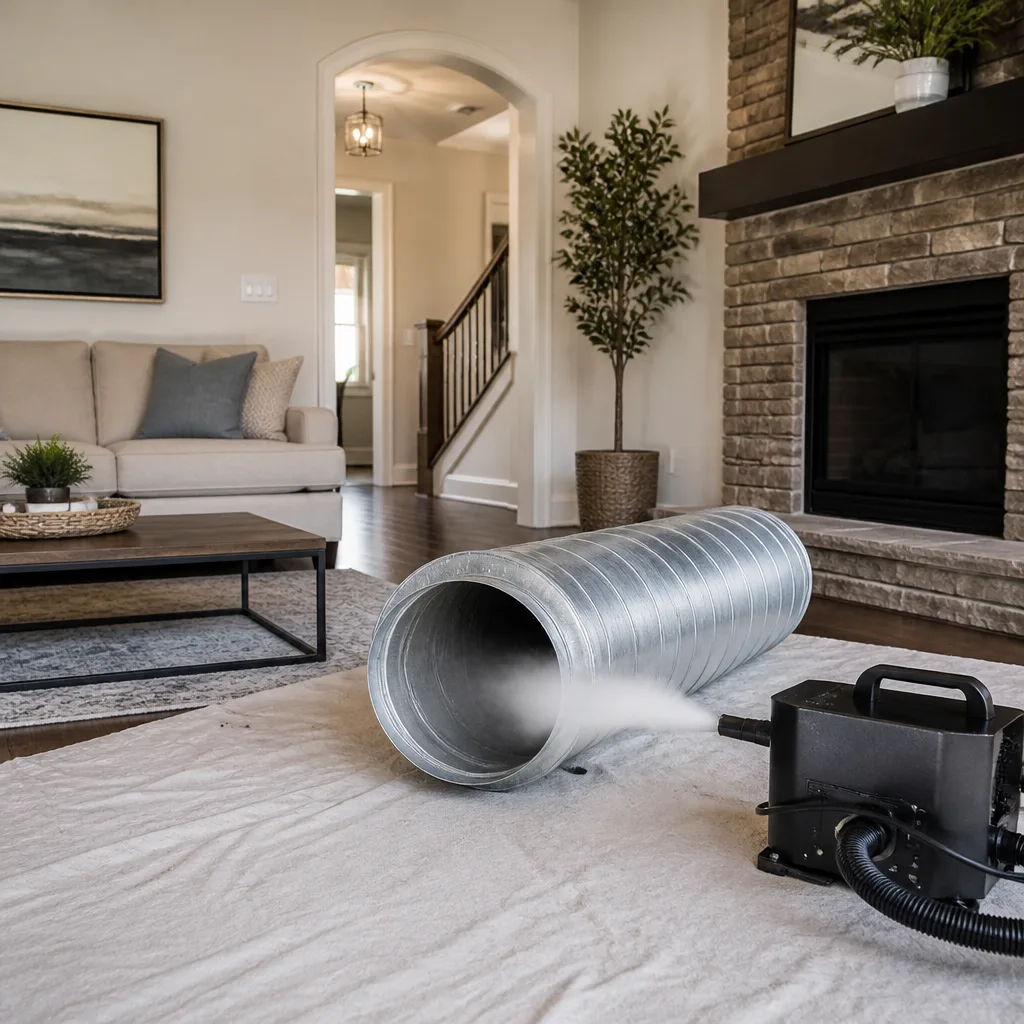 Sanitizing & deodorizing
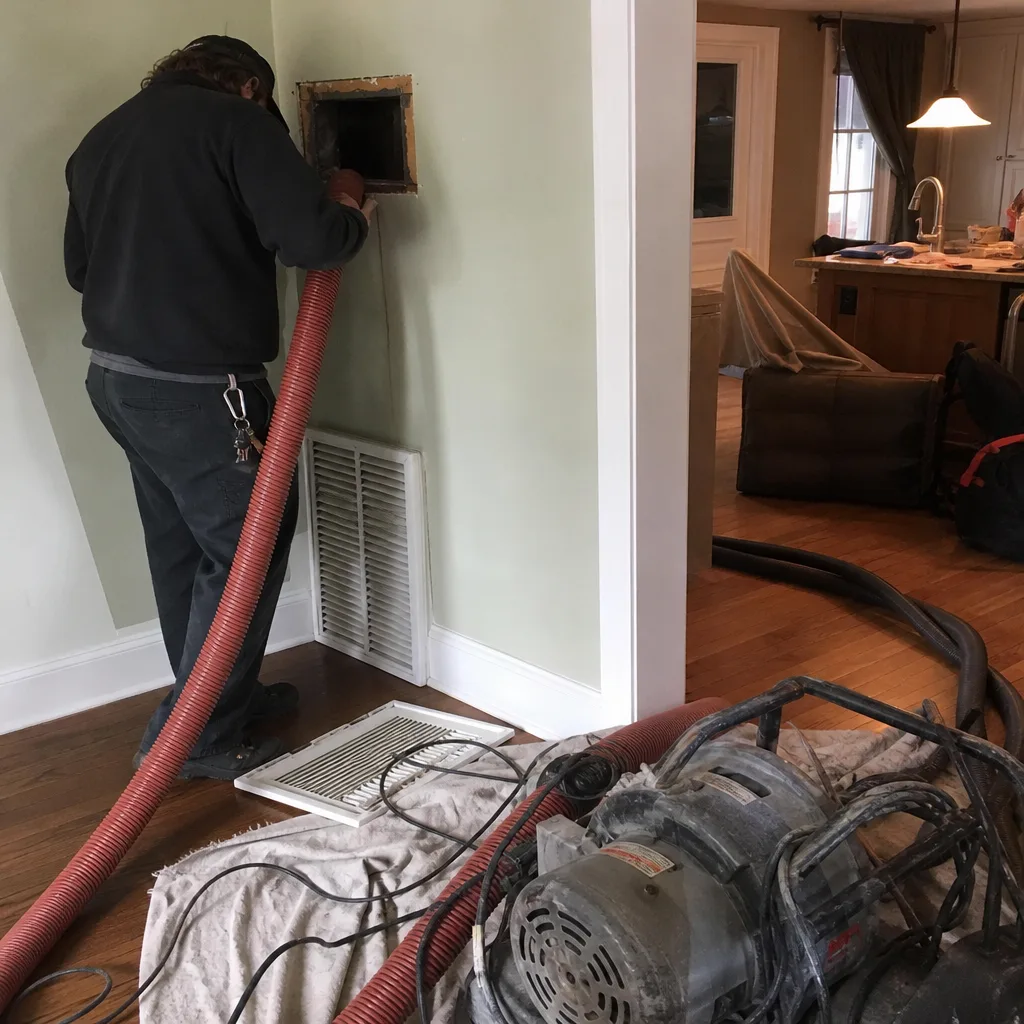
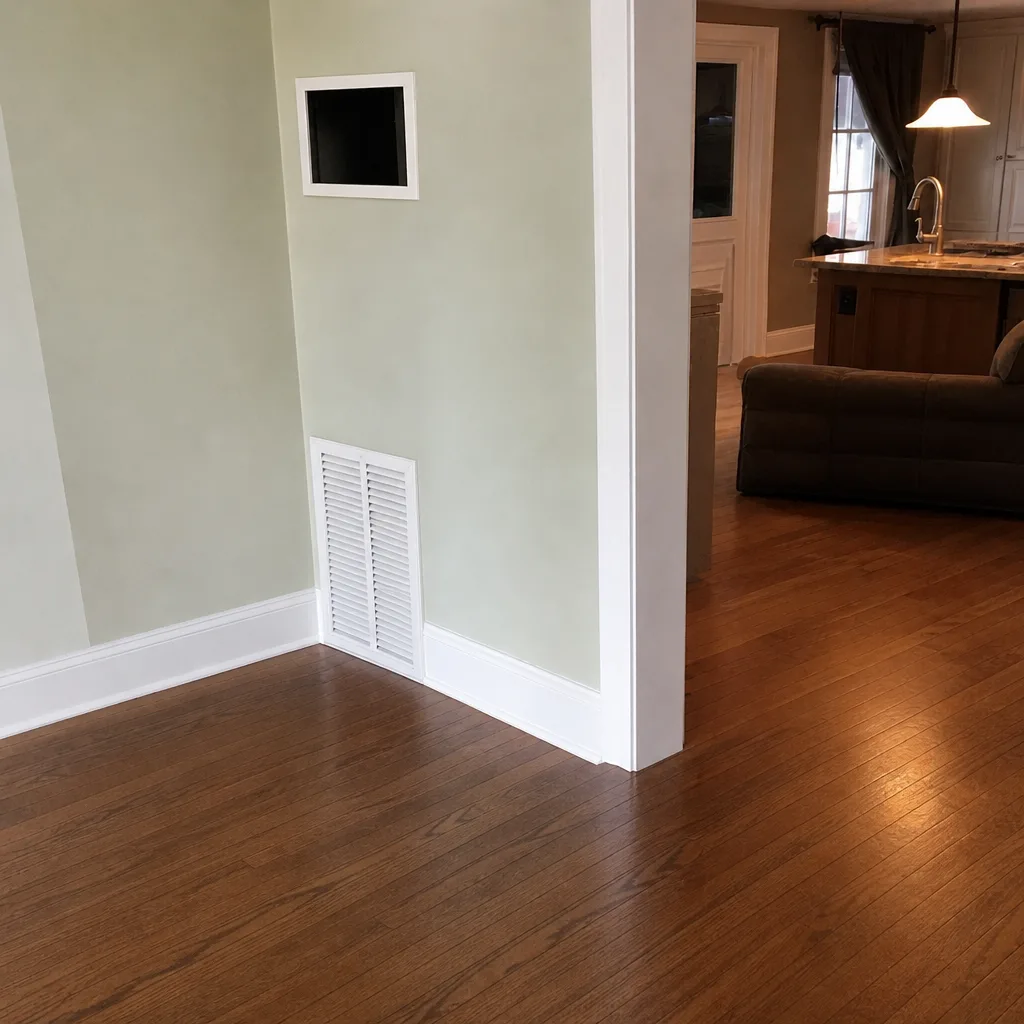
Whole-system duct and dryer vent check with before-and-after photos - you see exactly what came out of your vents
That "$99 whole-house special" is a bait ad - the real number appears once they are in your hallway, or the "clean" is a shop-vac at the register. We photograph the inside of your ducts before and after instead.
DIY vs Professional Air Duct Cleaning: The New Bedford Homeowner’s Decision Guide
Here’s the part most duct cleaning companies won’t tell you: you can do some of this work yourself, and you probably should. A homeowner with a shop vac, a dryer vent brush, and a Saturday afternoon can meaningfully lower their dryer fire risk and keep their return registers from looking like a dust farm. But that same homeowner running that same shop vac through their supply vents is more likely to redistribute contamination through the house than remove it. The line between “worth doing yourself” and “call someone with real equipment” is an equipment question, not a skill question. This guide draws that line precisely for New Bedford homes: what you can handle, what you can’t, and how to tell the difference before you start.
Quick Answer
You can safely handle register and grille cleaning, dryer vent lint removal, filter upgrades, and visual inspection yourself. You cannot replicate source removal, the negative-pressure method that captures debris instead of stirring it up, without contractor-grade equipment like Rotobrush and Nikro systems. For anything beyond surface maintenance in a New Bedford home, especially older housing stock with aging flex duct and deteriorated insulation, professional cleaning with documented before-and-after photos is the safer and more effective choice.
Styles & brands we work with
- Whole-home duct cleaning
- Dryer vent cleaning
- Camera inspection
- Sanitizing & deodorizing
Table of Contents
- What a homeowner can actually accomplish with consumer tools
- Why source removal needs equipment you can’t rent
- The specific risk of DIY duct cleaning in older New Bedford homes
- The cost-benefit math: DIY versus professional cleaning
- The hybrid approach: DIY tasks between professional visits
- Dryer vents: the one place DIY genuinely earns its keep
- How to evaluate a professional quote
- When it’s time to stop DIY and call
What a homeowner can actually accomplish with consumer tools
Start with the honest list. Consumer tools are not useless, they’re just limited to surfaces and short runs. Here’s what a motivated homeowner can genuinely accomplish:
- Register and grille cleaning. Remove the covers, wash them in a utility sink with dish soap, and vacuum the visible dust mat off the face of the register boot. This improves airflow at the point of delivery and takes about 20 minutes per register once you’ve done a few.
- Filter upgrades. This is the highest-return DIY step in the entire system. A properly sized, correctly rated filter changed on schedule protects the blower and keeps downstream ductwork cleaner. Check the filter size printed on the frame and match it exactly; a filter that doesn’t seat properly lets unfiltered air bypass it entirely.
- Dryer vent lint removal. The lint trap, the flexible transition duct behind the dryer, and the exterior termination flap are all reachable with a brush kit. This is the one piece of duct work where DIY does real safety work, covered in its own section below.
- Visual inspection. A flashlight and a phone camera can show you a lot. Pull a register, look down the boot, and photograph what you see. Look for visible matting, pest droppings, moisture staining, disconnected joints, or flex duct that has collapsed or torn.
- Return air grille vacuuming. Return grilles collect more dust than supply registers because they’re pulling room air in. A brush attachment on a shop vac handles the surface layer.
What connects all of these: they’re surface tasks and short-run tasks. Nothing on the list requires you to reach deep into a main trunk line, and nothing on the list requires you to contain dust while you work. That distinction matters more than most homeowners realize, and it’s what the next section is about.
Why source removal needs equipment you can’t rent
Professional duct cleaning works on a principle called source removal. The idea is simple: put the entire duct system under negative pressure, then use mechanical agitation to dislodge debris from the duct walls while the vacuum holds that debris in a contained environment until it can be captured. The cleaning action and the containment happen together. Remove either half and the job falls apart.
A shop vac does the opposite. It creates a small zone of suction at the end of a hose and blows its exhaust air back into the room. Put one inside a supply duct and you create turbulence: debris that was settled on the duct floor lifts into the airstream, and some of it exits the register into your living space. You’ve moved the contamination, not removed it. The same is true of a leaf blower, a compressed air nozzle, or any method that agitates without containment.
The equipment that makes source removal possible is what separates a duct specialist from a generalist. Our technicians work with Rotobrush and Nikro systems, which are mechanical, negative-pressure cleaning rigs built for remediation contractors. They combine a high-volume vacuum with rotary brushes and whips sized for different duct profiles, so the agitation and the capture happen as one operation. We also carry Abatement Technologies equipment for indoor air quality situations that need contaminant containment beyond routine dust, which matters in homes with allergy concerns or visible growth on duct surfaces.
Could you rent this equipment? In practice, no. These systems are sold to contractors, not to rental yards, and running one correctly takes training in duct profiles, brush selection, and airflow. The equipment gap is the real answer to the DIY-versus-professional question.
The specific risk of DIY duct cleaning in older New Bedford homes
New Bedford has a lot of housing stock that predates modern ductwork standards, and that changes the risk profile of DIY cleaning considerably. A home built with flex duct in the last twenty years has joints, but they’re typically sealed and the duct material is still supple. A much older New Bedford home may have had ductwork added, modified, or partially replaced over the decades, and that history leaves vulnerabilities.
Three specific risks show up when a homeowner puts a shop vac or a rented brush into older ductwork:
- Disturbing deteriorated interior insulation. Many older duct systems have internal liner or wrap insulation that has aged, frayed, or begun to break down. Agitating it with a brush can tear fibers loose and send them downstream into the airstream and out through the registers. Professional cleaning uses controlled agitation and captures the material as it’s released.
- Disconnecting aging flex joints. Flex duct connections at boots and trunk takeoffs are often secured with tape or a tension tie that has lost grip. A brush pushed past a weak joint can pull it apart. Suddenly you have an open connection dumping conditioned air into a crawlspace or wall cavity, and the homeowner doesn’t find out until the heating bill spikes.
- Spreading rather than capturing debris. This is the most common outcome and the least visible. Debris gets loosened, some of it gets pulled into the shop vac, and the rest settles back down or drifts into rooms. The duct system looks no cleaner afterward, but the air in the house is briefly worse.
None of this is a reason to panic about your ducts. It’s a reason to look before you reach. A flashlight inspection will tell you whether the ductwork looks sound: sealed joints, intact liner, no visible collapse. If it does, register cleaning is safe. If it doesn’t, that’s a system that needs repair before it needs cleaning, and a shop vac is the wrong tool for both jobs.
The cost-benefit math: DIY versus professional cleaning
Homeowners usually frame this as a simple trade: save money now versus spend it now. That framing misses a variable. The question isn’t just what you pay, it’s what you actually get for the payment. A DIY approach that costs nothing but leaves the duct system in the same condition it started in isn’t a saving, it’s a zero.
Here’s how to compare the two honestly:
- What DIY delivers: cleaner register faces, a fresh filter, a cleared dryer transition duct, and a visual inspection that tells you whether the deeper system is sound. Real value, but limited to surfaces and reachable runs.
- What professional cleaning delivers: full source removal through the trunk and branch runs under negative pressure, documented before-and-after photos of your own ducts, and a technician who can identify compromised connections or damaged liner while they’re in the system. That last point is often the most valuable part.
- What the gap costs you if you skip it: a duct system that stays contaminated while your filter works overtime, a blower that runs dirtier, and a repair need that goes unnoticed until it’s a bigger job.
Our approach is one flat price per system, agreed in writing before any work starts, with before-and-after photos so you can see the difference yourself. That structure exists specifically to answer the industry’s worst reputation problem: the low teaser price that balloons on site. If you’re comparing a professional quote against your DIY time, compare the whole-system price against the whole-system result, not against a coupon number that won’t survive contact with a real invoice.
The hybrid approach: DIY tasks between professional visits
This is the approach we’d recommend to a friend. Professional cleaning resets the system; small DIY maintenance tasks between visits slow re-contamination and extend the value of that cleaning. The two aren’t in conflict, they’re a sequence.
Here’s a practical between-visit routine, in order of what matters most:
- Change the filter on schedule. This is the single biggest lever. A clogged filter starves airflow and forces the system to pull air from places it shouldn’t. Match the size exactly and note the date on the frame with a marker so you don’t guess next time.
- Vacuum return grilles every few weeks. Return grilles are the system’s intake; they collect the most visible dust. A brush attachment on a shop vac handles it in minutes.
- Wash supply register covers seasonally. Pull them, wash them, dry them, reinstall. Watch for bent louvers that disrupt airflow.
- Clean the dryer vent lint path regularly. Covered in detail below, but the short version is: lint trap every load, transition duct and exterior termination checked periodically.
- Do a flashlight inspection once or twice a year. Look for moisture staining, pest activity, disconnected joints, or liner damage. Photograph anything that looks off so you can describe it accurately if you call.
What you shouldn’t do between visits is reach a brush into trunk lines or supply runs. That’s where the equipment boundary sits, and it doesn’t move just because you cleaned the registers well.
Dryer vents: the one place DIY genuinely earns its keep
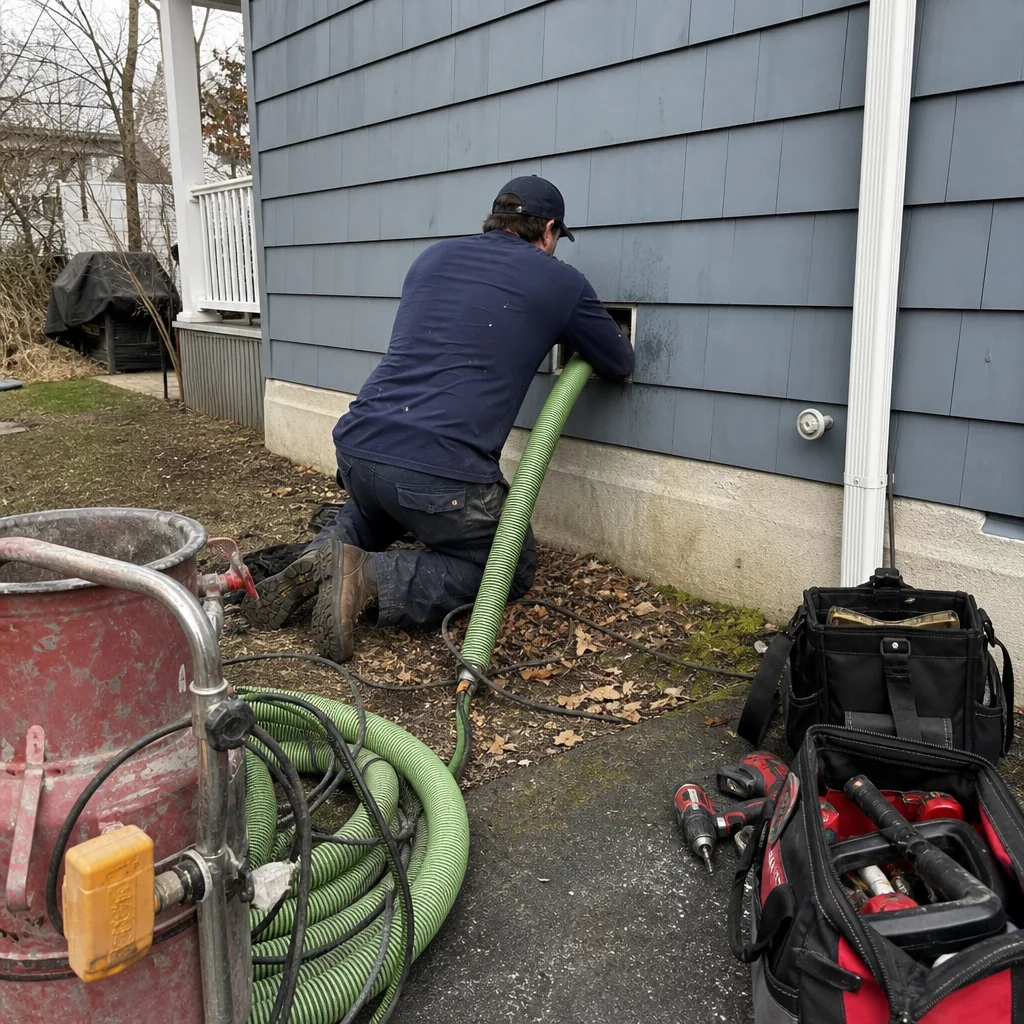
Dryer vents are the exception to almost everything above, and it’s worth being clear about why. The vent run is short, it’s usually accessible from both ends, and the contaminant is lint: dry, low-density, and easy to remove with a brush and a vacuum. A homeowner with a vent brush kit can do meaningful safety work here, and should.
Lint accumulation in a dryer vent is a documented fire risk, and the physics are simple. Lint is highly combustible, and a clogged vent also traps heat in the dryer. Both conditions together are what make dryer vent fires a leading cause of residential fire incidents. That’s not a scare tactic, it’s the reason vent cleaning is treated as a safety service rather than a comfort one.
The DIY-safe part: pull the dryer out, disconnect the transition duct behind it, clear lint from both ends of the transition, vacuum the lint trap housing, and check the exterior termination flap for obstruction. If the flap doesn’t open freely when the dryer runs, or if you can’t reach the full run because it’s long or routed through a wall, that’s when the job passes to professional equipment.
We treat dryer vents like the fire risk they are, which is why dryer vent cleaning is a dedicated service for us rather than an upsell tacked onto duct work. Many duct cleaners skip it or outsource it entirely.
How to evaluate a professional quote
The duct cleaning industry earned its bad reputation honestly. The pattern is well known: an advertised low price, a technician on site, and a much larger invoice once the work is “discovered” to be more involved than expected. You can avoid it by asking the right questions before anyone arrives.
- Ask what equipment they use. If the answer isn’t a named negative-pressure system, the quote is for surface work. Rotobrush and Nikro are the equipment brands remediation contractors rely on; hearing those names specifically is a good sign.
- Ask for a flat price per system. Not per vent, not per register, not a base price plus add-ons. One price for the whole system, agreed in writing.
- Ask whether before-and-after photos are included. Photos of your own ducts, not stock images. This is the simplest proof that the work happened.
- Ask what happens if they find damaged ductwork. A cleaning-only company will note the problem and leave it. We offer air duct cleaning and air duct repair as separate services, so a compromised joint or torn liner gets fixed in the same visit rather than documented and abandoned.
- Ask about air quality components. If your home has a whole-home filtration or humidity system, the technician should recognize it. We work with Honeywell and Aprilaire components, which means we can service and recommend system-level air quality parts rather than just cleaning the duct run.
None of those questions require technical knowledge to ask. They just require you to ask before the truck pulls up.
When it’s time to stop DIY and call
Some situations clearly point to professional work. If you see visible matting or growth on duct surfaces during your flashlight inspection, or if a register is discharging debris when the system runs, that’s beyond surface maintenance. If anyone in the home has persistent allergy or respiratory symptoms that worsen indoors, source removal and containment with Abatement Technologies equipment is the right starting point. If you’ve just bought a home and don’t know the ductwork’s history, a professional inspection answers that question in one visit. And if your dryer vent run is long, routed through walls, or blocked, that’s a safety job for professional equipment.
Duct Cleaning New Bedford offers free estimates in New Bedford. Call (844) 793-0706. We answer 24/7. Fast dispatch from 7am to 7pm, Sunday through Friday.
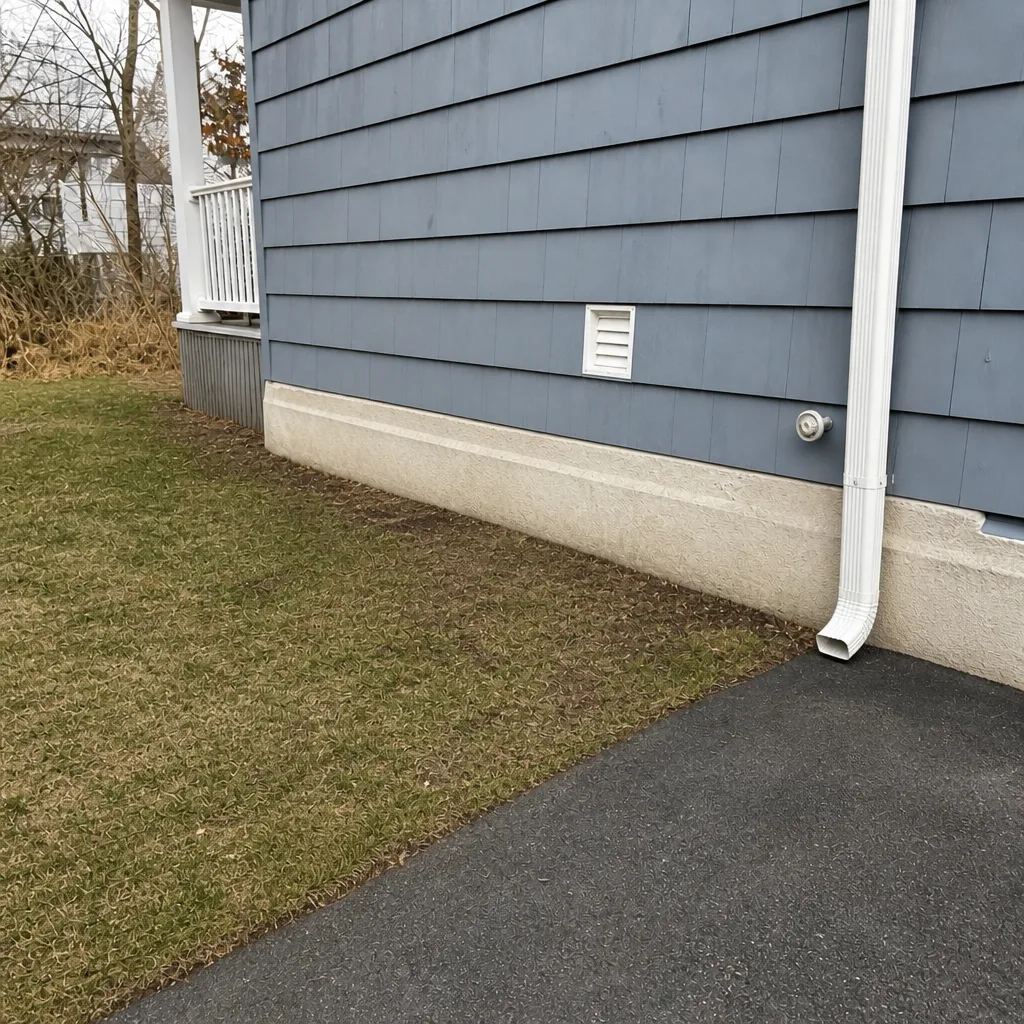
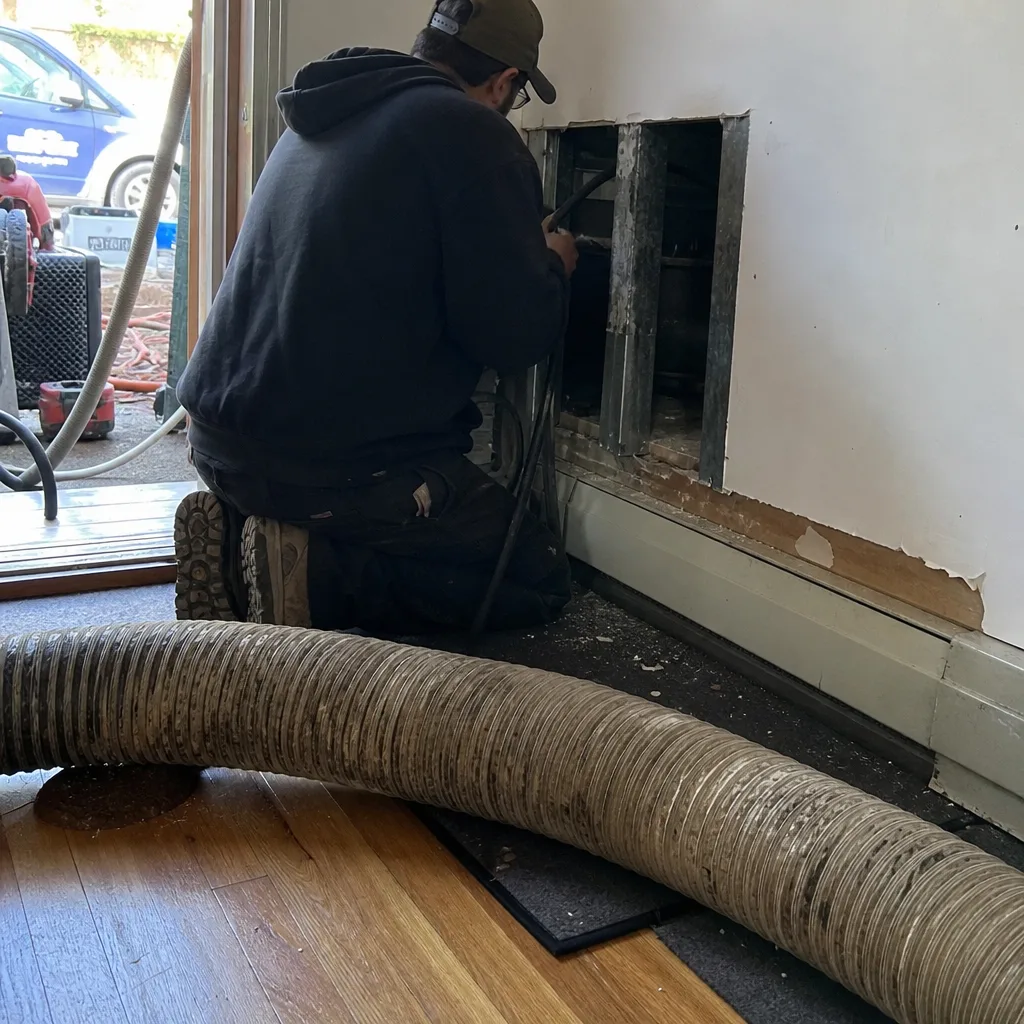
See the difference
 Before
 After
 Before
 After
 Before
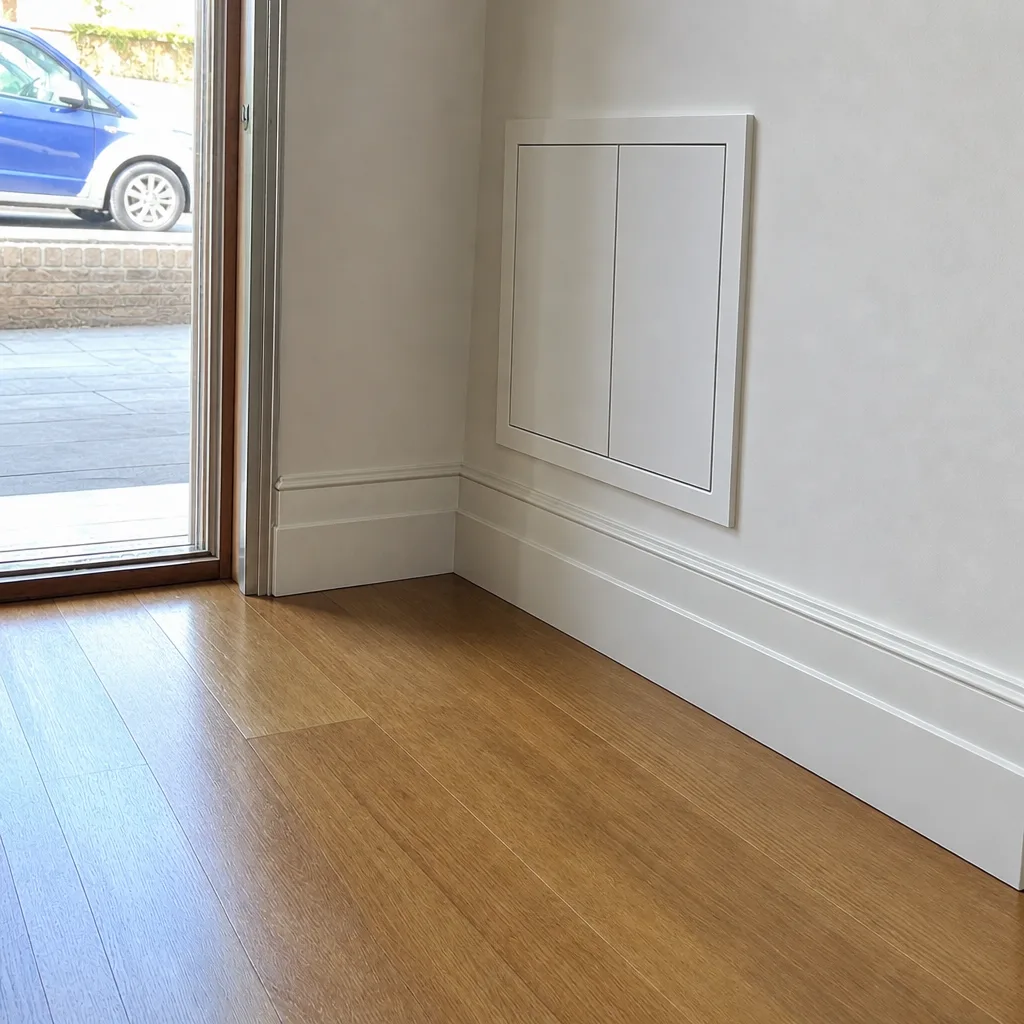 After
Common Mistakes to Avoid
- Running a shop vac through supply vents. It lifts debris without capturing it, so contamination spreads into rooms instead of being removed. Use it on register faces, not duct interiors.
- Brushing older flex duct without inspecting first. Aged liner tears and weak joints pull apart. In New Bedford’s older homes, check the duct condition before any agitation, professional or otherwise.
- Buying a filter that doesn’t seat properly. A filter that leaves gaps lets air bypass it entirely, so the filter does nothing. Match the exact size printed on the frame.
- Ignoring the dryer vent because the lint trap looks clean. The trap catches only part of the lint; the transition duct and exterior termination collect the rest. Check them, not just the trap.
- Accepting a per-vent price or a teaser coupon quote. Per-vent pricing punishes larger systems and coupon pricing rarely survives the visit. Ask for one flat price per system in writing.
- Skipping the post-clean walkthrough and photos. Before-and-after images of your own ducts are the proof that the work was done. Ask for them and look at them.
- Cleaning a damaged system instead of repairing it. Torn liner or a disconnected joint is a repair job. Cleaning around it wastes the cleaning. Repair is part of the service, not a later project.
Frequently Asked Questions
Cost depends on the size and layout of your duct system rather than the number of vents, which is why we price per system and put the number in a written estimate before work starts. That structure exists to avoid the bait-and-switch pattern the industry is known for: a low advertised figure that becomes a much larger invoice on site. Call (844) 793-0706 for an exact quote. Estimates are free.
You can clean register faces, grilles, and reachable surfaces with a shop vac, and that’s worth doing. You cannot do source removal with one, because a shop vac creates suction without containment and tends to spread debris into the room rather than capture it. For supply and trunk runs, negative-pressure equipment is the difference between cleaning and redistributing.
For most homes, cleaning is driven by conditions rather than a fixed calendar: visible debris at registers, recent renovation dust, a new home with unknown duct history, pets, or allergy concerns. A home with a clean system and a well-maintained filter can go considerably longer than the industry often suggests. Change the filter on schedule and inspect with a flashlight; the inspection tells you more than the calendar does.
Cheap quotes usually reflect what’s being sold rather than a better deal: surface vacuuming with a shop vac instead of source removal, per-vent pricing that grows with your system, and add-ons that appear once the technician is on site. Ask what equipment is used and whether the price is flat per system. Rotobrush and Nikro systems are the contractor-grade standard; if the answer doesn’t name real equipment, the quote is for a different job.
Ask for before-and-after photos of your own ducts and take a walkthrough after the cleaning. Photos of your equipment, not stock images, are the simplest record that the work happened. Our service includes before-and-after documentation for exactly this reason, and we use Guardsman-line protective products so surfaces around the work area are protected during the visit.
You can handle the reachable parts yourself: the lint trap, the transition duct behind the dryer, and the exterior termination flap. If the run is long, routed through walls, or the exterior flap doesn’t open freely, that’s a safety job for professional equipment. Dryer vent lint is a leading contributor to home fires, so it’s worth doing properly rather than partially.
The Bottom Line
The DIY-versus-professional question has a real answer, and it’s not “always hire out.” Handle the surface work yourself: registers, filters, return grilles, and the reachable parts of the dryer vent. Those tasks are safe, useful, and slow re-contamination between visits. Draw the line at source removal, which needs negative-pressure equipment like Rotobrush and Nikro systems to capture contamination instead of spreading it through the house. In older New Bedford homes, that line matters even more, because aging flex duct and deteriorated insulation make agitation risky. If you’re unsure which side of the line your system is on, a professional inspection settles it.
If you want a straight answer about your own ductwork, call Duct Cleaning New Bedford at (844) 793-0706 for a free estimate. We answer 24/7. Fast dispatch from 7am to 7pm, Sunday through Friday. One flat price per system, agreed in writing before we start, with before-and-after photos of your own ducts. Our technicians have up to 15 years of experience, and we clean it, and if it’s broken, we fix it.
Written by the team at Duct Cleaning New Bedford.